🎚️ The Frustrating Reality of Volume Meters
You've been there. I've been there. We've ALL been there.
You spend hours crafting the perfect mix. Everything sounds balanced, punchy, and professional in your studio. The kick hits just right, the vocals sit perfectly, and that snare... chef's kiss. You bounce it down, feeling like a mixing wizard.
Then you play it in your car. On your phone. Through your friend's speakers. And suddenly, your masterpiece sounds like it was mixed underwater by someone wearing oven mitts.
What happened?
The culprit isn't your ears, your monitors, or some mysterious studio voodoo. It's something much simpler—and much more fixable. You've been ignoring the most important visual feedback your DAW gives you: volume meters.
Here's the thing: most producers look at meters the same way they look at a car's speedometer while stuck in traffic—they glance at it, see some numbers moving around, and assume everything's fine. But meters aren't just pretty lights dancing to your beat. They're diagnostic tools telling you exactly what's happening to your audio, and more importantly, what's about to go wrong.
The truth? Learning to read meters properly will do more for your mixes than any expensive plugin or fancy monitor upgrade. Because when you understand what those little bars and numbers are actually saying, you stop guessing and start making informed decisions.
What You'll Learn in This Guide
🧠 The Problem: We're Reading Meters All Wrong
Let me guess your current metering workflow:
- You see the levels bouncing around
- You make sure nothing's hitting the red (clipping)
- You call it a day
Sound familiar? If so, you're using about 10% of the information available to you. It's like trying to drive at night with only your parking lights on—you can see something, but you're missing most of the picture.
Here's what's actually happening: Different types of meters measure completely different things. Peak meters show you instantaneous spikes. RMS meters show you average energy over time. LUFS meters show you perceived loudness. And your DAW's default meters? They're probably showing you just one piece of a much bigger puzzle.
Most producers treat all meters like they're the same thing. That's like using a thermometer to measure distance—the tool works fine, but you're asking it the wrong question.
The goal isn't to make your meters look pretty. It's to make your music sound consistent across all playback systems.
So let's break this down properly. By the end of this post, you'll know exactly which meters to watch, when to watch them, and most importantly, how to use that information to make better mixing decisions.
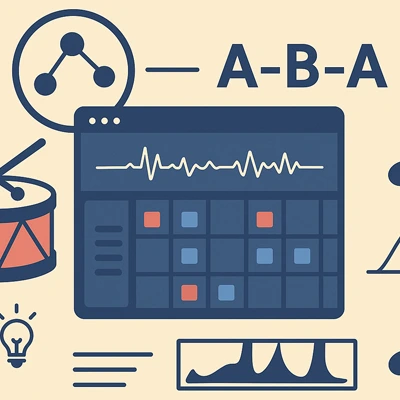
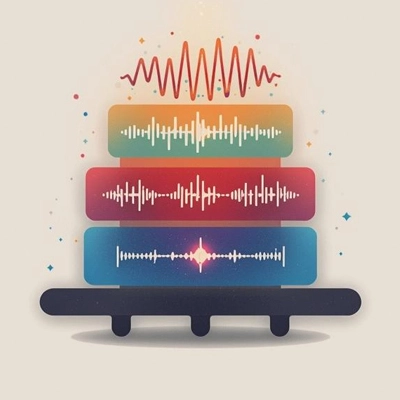
🔍 The Different Types of Meters (And What They Actually Tell You)
📊 Peak Meters: Your Clipping Police
What they show: The absolute highest level your audio reaches at any given moment.
When to use them: During recording and basic level setting. They're your first line of defense against digital distortion.
Peak meters are like smoke detectors—they're great at telling you when something's about to go very wrong (clipping), but they won't tell you if your mix actually sounds good. You can have perfect peak levels and still have a mix that sounds thin, muddy, or lifeless.
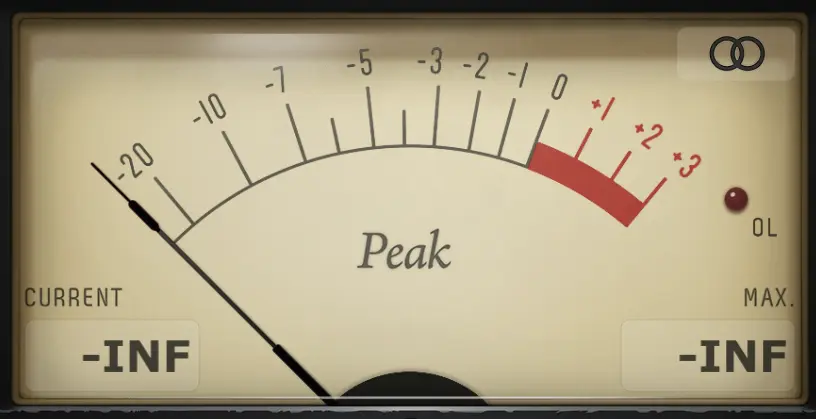
The reality check: Just because your peaks aren't hitting 0dB doesn't mean your levels are right. A whisper and a scream can have the same peak level if they're both normalized. Peak meters miss the sustained energy that makes music feel powerful.
📈 RMS Meters: The Energy Detective
What they show: The average energy of your audio over time—closer to what your ears actually perceive as "loudness."
When to use them: When balancing elements in your mix and checking overall energy levels.
Think of RMS as the difference between a camera flash (peak) and a bright room light (RMS). The flash might be more intense momentarily, but the room light determines whether you can actually see what you're doing.
This is where most home studio mixes fall apart. You might have your peaks under control, but if your RMS levels are all over the place, your mix will sound inconsistent and amateur.
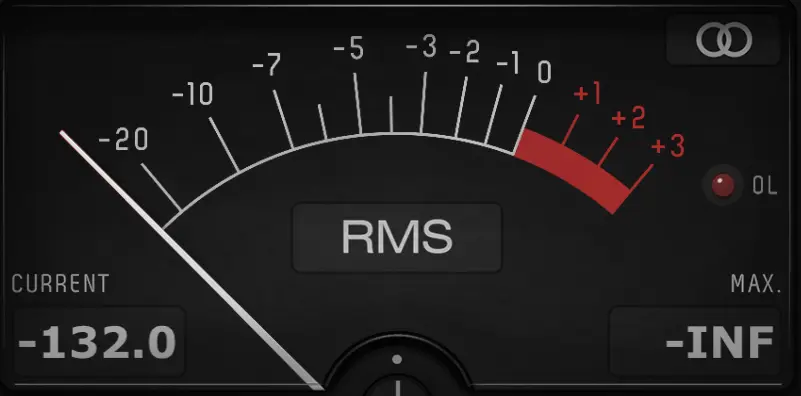
Pro tip: Your kick and snare should have similar RMS readings when you want them to feel equally powerful in the mix, even if their peak levels are different.
🎯 LUFS Meters: The Streaming Standard
What they show: Perceived loudness over time, weighted to match human hearing sensitivity.
When to use them: For final masters and ensuring your tracks will sound consistent on streaming platforms.
Here's the game-changer: Spotify normalizes everything to -14 LUFS. Apple Music uses -16 LUFS. If your master is louder than these targets, the streaming service will turn it down. If it's quieter, they might turn it up (but probably won't).
LUFS metering is like having a direct line to how streaming platforms will treat your music. Master to the right LUFS target, and your track will sound consistent with professional releases on the same platform.
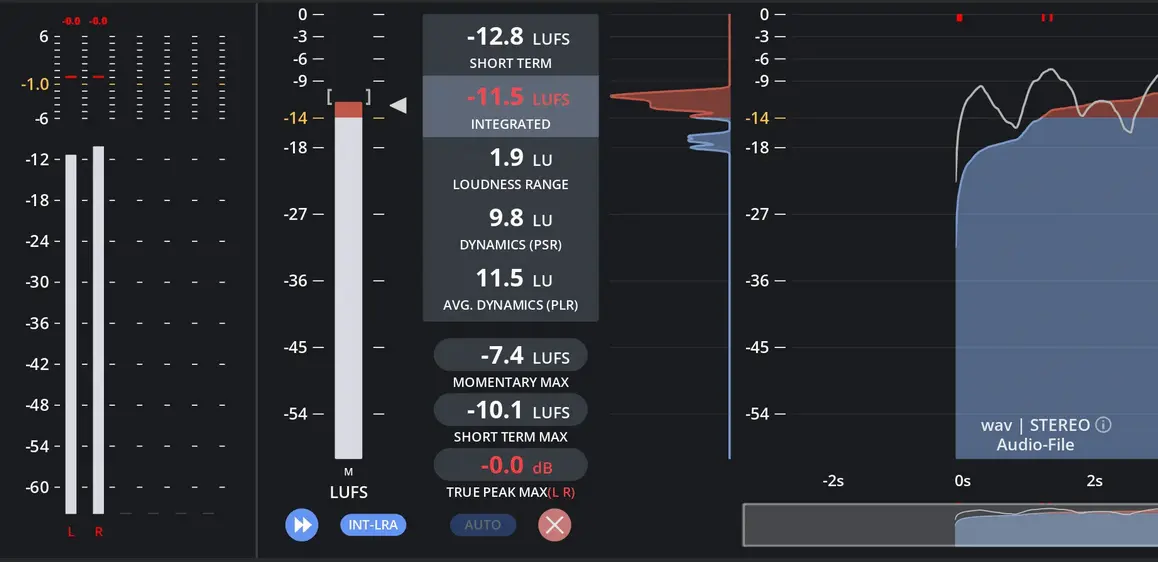
The wake-up call: That super-loud master you've been proud of? It's probably getting turned down by Spotify anyway, and now it sounds compressed and lifeless compared to tracks that were mastered with LUFS in mind.
📻 VU Meters: The Vintage Vibe
What they show: Average signal level with analog-style ballistics that react more slowly than digital peak meters.
When to use them: For analog-style mixing workflows and when you want to match the energy response of vintage gear.
VU meters bridge the gap between digital precision and analog feel. They respond more like human ears—showing you the sustained energy rather than every tiny peak. Many mixing engineers swear by VU meters because they help create mixes that "breathe" naturally.
The key difference: VU meters are calibrated to 0 VU = -18dBFS in most digital systems. This gives you tons of headroom and helps prevent the "digital harshness" that comes from mixing too hot.
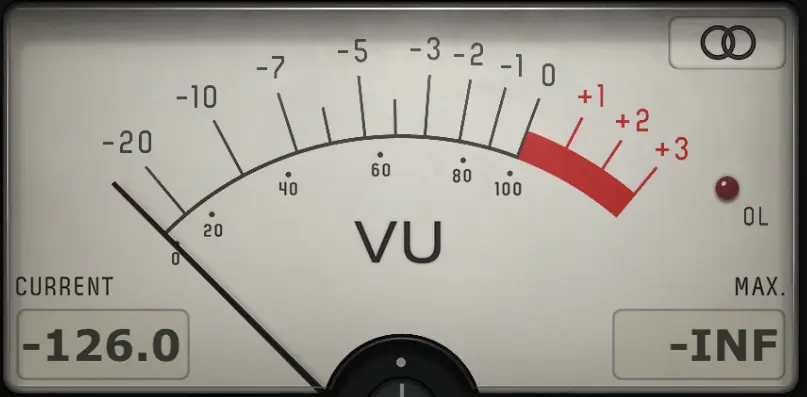
Reality check: If you're used to digital peak meters hitting near 0dB, VU meters will look "quiet" at first. But mixes balanced using VU meters often translate better across different playback systems.
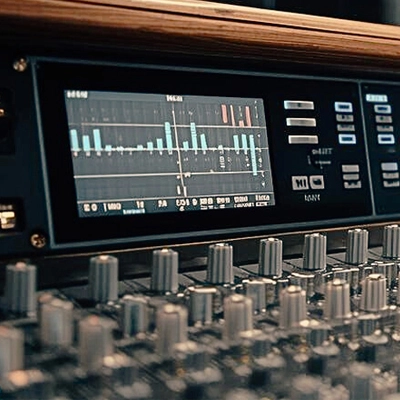
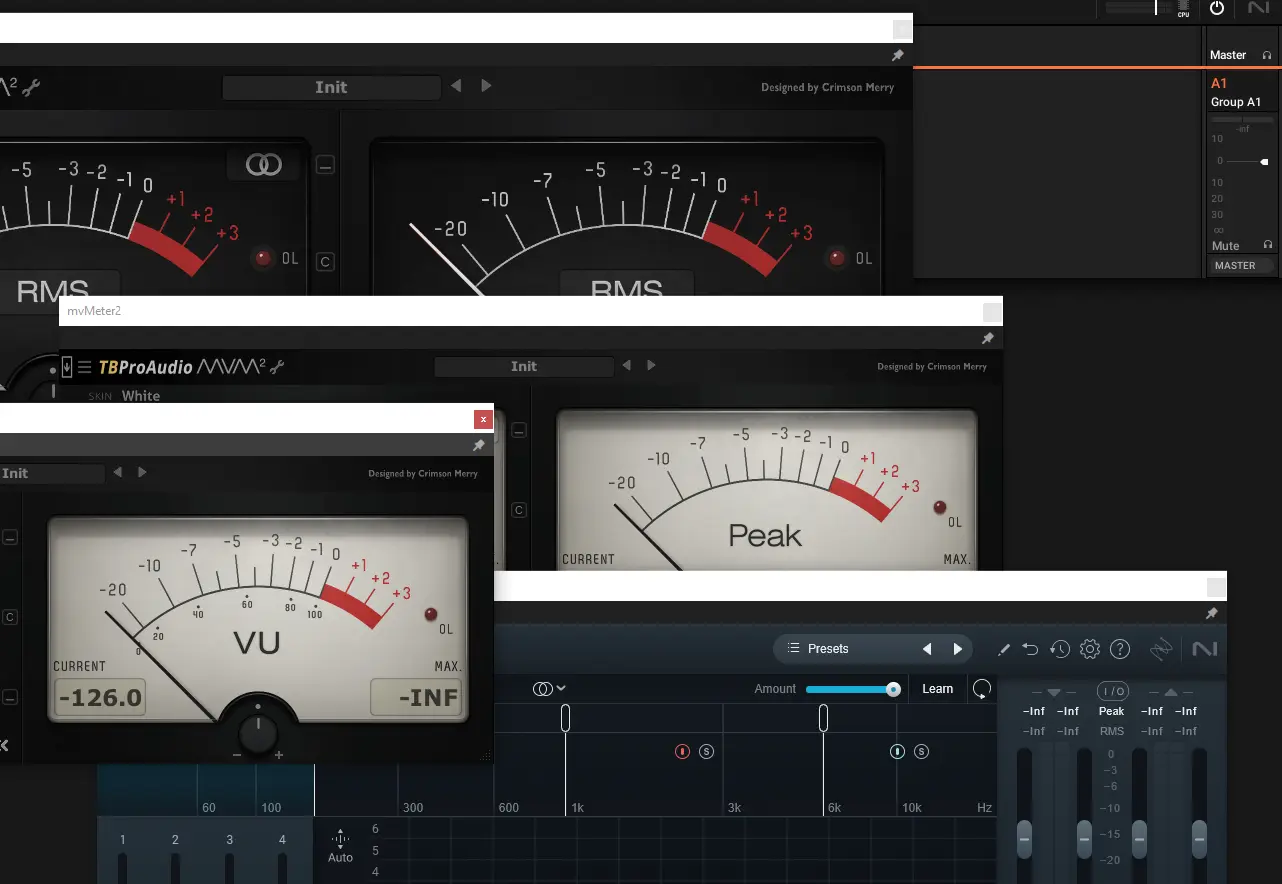
💻 Your DAW's Default Meters: What They're Really Showing
The truth: Most DAW meters show peak levels by default—which is only part of the story.
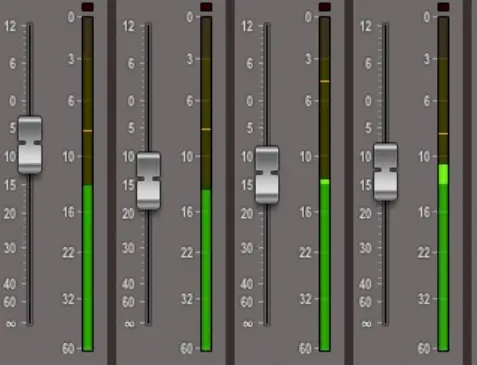
Ableton Live: Shows peak levels, but you can switch to RMS mode in the Utility device. The master meter is peak-only unless you add metering plugins.
Logic Pro: Default meters are peak-based, but the Level Meter plugin offers multiple display modes including RMS and VU emulation.
Pro Tools: Peak meters by default, but you can right-click and change to different ballistics. Most pro engineers add dedicated metering plugins.
FL Studio: Peak meters on the mixer, but the Wave Candy plugin can show RMS and spectrum information simultaneously.
Here's what most producers don't realize: relying only on your DAW's default meters is like trying to mix with one eye closed. You need multiple meter types working together to get the complete picture.
🛠️ Setting Up Your Metering Workflow (The Right Way)
Step 1: Use Multiple Meter Types Simultaneously
Most DAWs let you display peak, RMS, and LUFS information at the same time. Set this up on your master bus and key individual tracks. You want to see the full picture, not just one piece of it.
In Ableton Live: Add the built-in Utility device and select "Peak/RMS" mode. For LUFS, grab a free plugin like Youlean Loudness Meter.
In Logic Pro: The built-in Multipressure meter shows peak and RMS simultaneously. Add the Multipressure plugin for LUFS readings.
In Pro Tools: The built-in meters show peak by default, but you can add Insight or any LUFS plugin for comprehensive metering.
Step 2: Set Reference Levels for Each Meter Type
Peak levels: Aim for -6dB to -3dB headroom on your mix bus. This gives your mastering engineer (or yourself) room to work without clipping.
RMS levels: Your main elements (kick, snare, lead vocals) should typically sit around -18dB to -12dB RMS, depending on the genre and style.
LUFS targets: -14 LUFS for most streaming platforms, -16 LUFS for a more conservative approach that works everywhere.
Step 3: Create Meter-Watching Habits During Different Mix Stages
Recording: Watch peaks to avoid clipping, aim for healthy RMS levels on individual tracks.
Mixing: Balance RMS levels between elements, occasionally check peak headroom.
Pre-mastering: Check LUFS to ensure you're in the right ballpark for your target platform.
🎵 Practical Exercise: Fix Your Mix Using Meters
Let's put this into practice with a real scenario. Load up a recent mix of yours and follow along:
Exercise 1: The Balance Check (5 minutes)
- Solo your kick drum and check its RMS reading while it's playing a typical pattern
- Solo your snare and compare its RMS to the kick
- Play them together - if one is significantly louder RMS-wise but should feel equal in the mix, adjust until their RMS readings match
This simple exercise will immediately improve the power balance in your low end.
Exercise 2: The Headroom Reality Check (3 minutes)
- Play your full mix and watch the peak meters on your master bus
- Note the highest peaks - are you consistently hitting above -6dB?
- If yes, pull down your mix bus fader until your peaks sit around -6dB to -3dB
Suddenly, your mix has breathing room. Mastering just became 10 times easier.
Exercise 3: The Streaming Compatibility Test (2 minutes)
- Add a LUFS meter to your master bus
- Play through your entire track and note the integrated LUFS reading
- If it's above -14 LUFS, your track will be turned down on Spotify
- If it's below -20 LUFS, it might sound quieter than other tracks on playlists
This tells you exactly how your track will be treated by streaming algorithms.
🎯 The Bottom Line: Stop Guessing, Start Measuring
Your ears are amazing, but they're not perfect. They get fatigued. They adapt to your room. They're influenced by the volume you're monitoring at and even your mood.
Meters don't lie. They don't get tired. They don't care if you've been mixing for eight hours straight or if your room has weird acoustics. They just tell you exactly what's happening to your audio, mathematically and objectively.
The producers who consistently deliver professional-sounding mixes aren't necessarily the ones with the most expensive gear or the perfect rooms. They're the ones who've learned to combine their musical instincts with objective measurement tools.
So next time you're mixing, don't just trust your ears—verify with your meters. Watch the peaks to avoid clipping. Monitor the RMS to balance energy. Check the LUFS to ensure streaming compatibility.
Your future self (and everyone who listens to your music) will thank you.
Stay sharp. Stay measured.
— ToneSharp